Writing a Chip8 emulator in C++ Part 1
Introduction
It had been 8 long years since I coded in C++, so when I suddenly felt the urge to re-visit it, I found that the C++ landscape had changed quite a bit since the c++11 days. Native smart pointers, automatic type inferencing, constexpr et al were the fun new additions to the language. I wasn’t sure if I actually wanted to use the new features - I just wanted to code in c++ again - but I thought it might be interesting to code a fun project to find out. So, naturally, I chose to write a Chip8 emulator.
Now, Chip8 emulators are dime a dozen, simply because Chip8 specifications are simple and easy to emulate. It has a simple instruction set with very few unknown behaviors. The graphics and sound are probably the only relatively complex bits. It’s kind of the “Hello World” of emulator writing. I had coded a ZX Spectrum emulator in C# before, so this seemed like a good way to ease myself back to C++.
I set a few goals for myself in coding this emulator:
- Emulate all the instructions in an accurate manner, including undocumented behavior.
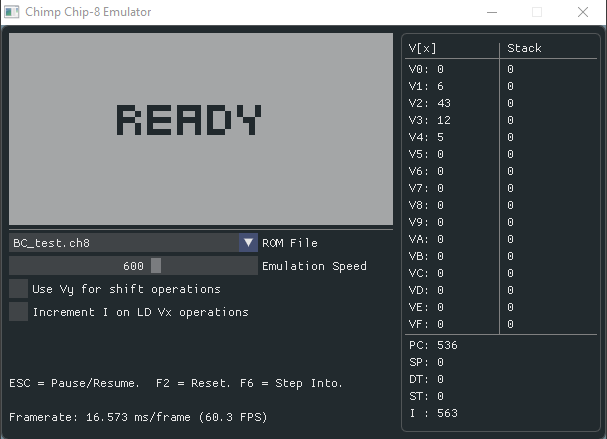
- A simple GUI to facilitate loading of ROMs and debugging. To be frank, designing and coding GUI’s is not fun (for me). But I’ve found debugging to be an invaluable tool when writing a emulator, so I knew I would need to display register contents, stack traces, and memory contents to make things a bit easier in the long run.
- Sound. Given how simple the sound generator is for a Chip8, this wasn’t really high on priority but I wanted to do it anyway for the sake of completeness.
- Minimal debugging tools. Nothing fancy: the ability to pause emulation at any point and examine the registers and a Step-Into mode that will allow execution of instructions in a controlled manner. I wanted to add a breakpoint feature too but in the end it didn’t make it.
- Cross platform build. This was a big one. Inspired by Casey Muratori’s Handmade Hero videos, I wanted to be able to write code once build anywhere using a very simple handmade “build” system. This turned out to be a lot more time consuming than I thought and I’m still not sure if it’s the best way to go about it.
I thought they were fairly modest goals, which would take me about a week to implement in all. In the end it has taken me well over 3 weeks to do everything. I spent 2 weeks alone on a coming up with a good enough multi-platform build system. *shiver*
So with the introduction out of the way, let’s get to the emulator itself. Note that this is not a tutorial on writing an emulator but more of an explanation of the steps I took in writing this emulator. I thought it would be a nice way to not only document the process but also shed some light on the finer points in emulating the Chip8. On to part 2 then!